
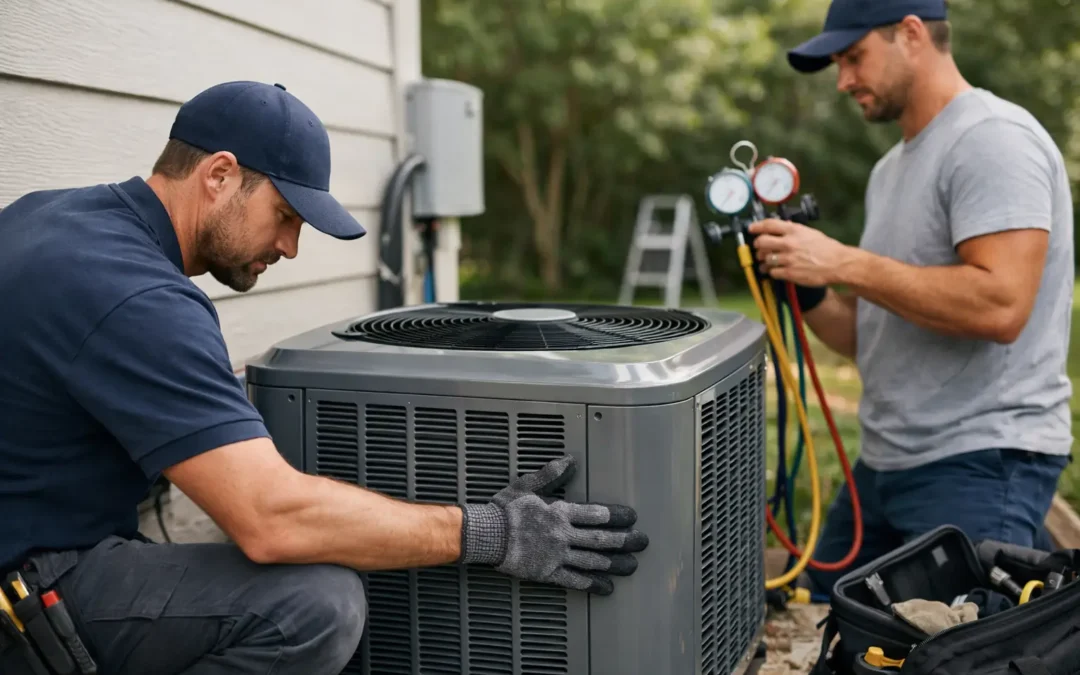
When your old air conditioner starts struggling through another Southwest Florida summer, replacing it can feel overdue and overwhelming at the same time. A lot of homeowners want the new AC installation process explained in plain English before they commit, especially when comfort, energy costs, and indoor air quality are all on the line.
The good news is that a quality installation is not a mystery. It follows a clear sequence, and each step affects how well your system cools, how long it lasts, and how reliably it handles heavy heat and humidity. If you know what should happen, you are in a better position to ask smart questions and make confident decisions.
Why the installation process matters so much
Many homeowners focus on the brand name on the outdoor unit. That matters, but installation quality often matters just as much. Even a high-end system can underperform if it is sized incorrectly, connected to leaky ductwork, or installed without proper testing.
In Florida, the stakes are higher. Your AC is not a luxury for a few weeks a year. It runs hard for long stretches, often while fighting both heat and moisture. That means shortcuts during installation can show up quickly as uneven cooling, high electric bills, poor humidity control, or early equipment failure.
New AC installation process explained step by step
It starts with an in-home evaluation
A proper installation begins before any equipment arrives. A licensed HVAC professional should evaluate the home, the existing system, and the cooling needs of the space. This is the point where they look beyond square footage.
They should consider insulation levels, window exposure, ceiling height, duct condition, airflow, and how the home handles humidity. If one room is always hotter than another, or if the current system cycles on and off too often, those details matter. They help identify whether the problem is just aging equipment or something deeper in the system.
This is also when homeowners should discuss priorities. Some people want the lowest upfront price. Others care more about lower energy use, quieter operation, or better moisture control. There is no single right answer, but there is a right system for your home and budget.
Next comes system sizing and equipment selection
This is one of the most important parts of the job. Bigger is not always better with air conditioning. An oversized unit may cool the home too quickly and shut off before it removes enough humidity from the air. That can leave the house feeling cool but clammy, which is not what you want in Southwest Florida.
An undersized system has the opposite problem. It can run constantly, struggle to reach the thermostat setting, and wear itself out faster.
A contractor should recommend equipment based on the home’s actual cooling load, not just the size of the old unit. In many cases, the existing system was not sized correctly to begin with. Homeowners should also hear an honest explanation of efficiency ratings, warranty terms, and whether any duct or electrical updates are needed to support the new equipment.
The estimate should be clear, not vague
Before work begins, you should receive a written estimate that explains what is included. That means the equipment being installed, labor, any needed accessories, and whether additional work is recommended for ductwork, drains, or electrical components.
Transparent pricing matters because AC replacement is not always a one-line job. Sometimes the indoor air handler can stay while the outdoor condenser is replaced, but often a matched system is the better long-term choice. In other homes, the drain line, pad, disconnect, or thermostat also needs attention. A clear estimate helps avoid surprises.
What happens on installation day
The old system is removed carefully
On installation day, technicians typically begin by protecting work areas and shutting off power to the equipment. The old indoor and outdoor components are disconnected and removed. Refrigerant must be recovered properly, and electrical connections need to be handled safely.
This step may look simple from the outside, but it is a controlled process. Rushed removal can damage refrigerant lines, surrounding finishes, or other parts of the HVAC setup that still need to be used.
The new equipment is set in place
The outdoor condenser is placed on a stable pad in a location that allows proper airflow and service access. Inside the home, the air handler or evaporator coil is installed and connected to the duct system.
Fit and alignment matter here. If the system is not installed level, sealed correctly, or connected securely, performance can suffer. Technicians should also inspect the refrigerant line set. Sometimes the existing line set can be reused, but only if it is the right size and in good condition. In other cases, replacing it is the safer option.
Electrical and drainage connections are completed
An AC system depends on more than cooling components alone. It also needs proper electrical service, a disconnect, correct breaker sizing, safe wiring, and reliable condensate drainage.
That drainage side is especially important in Florida. Your system removes a lot of moisture from the air, and that water has to go somewhere. A poorly installed or clogged drain line can lead to water damage, microbial growth, or nuisance shutdowns. If overflow safety switches are recommended, they are worth taking seriously.
Refrigerant charging and airflow adjustments are made
Once the equipment is installed, the system is not just switched on and considered done. A professional team should evacuate the refrigerant lines properly, verify vacuum levels, charge the system to manufacturer specifications, and check operating pressures.
Airflow also needs to be measured and adjusted. This part often gets overlooked, yet it has a direct impact on comfort and humidity control. If airflow is too low or too high, the system may cool inefficiently or fail to dehumidify the home as intended.
The final testing phase is where quality shows
Performance should be verified, not assumed
After startup, technicians should test the system in cooling mode and confirm that temperatures, pressures, electrical readings, and thermostat operation are all within the proper range. They should also check that the drain is working and that the system cycles normally.
This is where a careful installer stands out. Anyone can place equipment, but a thorough company verifies that the full system is operating correctly before calling the job complete.
Homeowners should receive a walkthrough
A good installation ends with communication. You should be shown how to use the thermostat, how often to change the air filter, what normal operation sounds like, and what warning signs to watch for.
This is also the time to ask about maintenance. New equipment still needs regular service. Annual or seasonal tune-ups help protect efficiency, catch small issues early, and support warranty requirements.
Common issues that can affect the process
Even when the installation itself goes smoothly, some homes need extra work. Older ductwork may leak enough air to reduce the benefits of a new system. A weak electrical panel or outdated disconnect may need upgrading. In some cases, poor attic insulation or blocked return airflow is part of the reason the old system struggled.
That does not mean every installation turns into a major project. It does mean the best contractors will tell you when your AC is only part of the problem. Sometimes spending a little more upfront on the right supporting work saves a lot of frustration later.
How long a new AC installation usually takes
For many homes, a standard residential installation can be completed in one day. More complex jobs may take longer, especially if duct modifications, electrical upgrades, or difficult access are involved.
The key is not speed alone. Fast is fine when the work is done correctly, but no homeowner benefits from a rushed install that skips testing or leaves details unfinished. If a company promises a very quick turnaround, it is fair to ask what steps are included and how startup verification will be handled.
How to know you are getting a quality installation
If you want the new AC installation process explained in practical terms, the simplest answer is this: a quality install is thoughtful from start to finish. It includes proper sizing, clear pricing, safe removal, careful setup, complete testing, and straightforward homeowner guidance.
You should expect licensed professionals, not guesswork. You should expect answers when you ask why one system is being recommended over another. And you should expect the installer to care about how your home feels after the job, not just whether the equipment turns on.
For homeowners in places like Cape Coral, Fort Myers, and North Fort Myers, that attention to detail matters even more because your AC works so hard for so much of the year. A system that is installed right from day one has a better chance of delivering the comfort, efficiency, and reliability you are paying for.
If you are planning a replacement, do not feel pressured to know every technical detail. Focus on working with a team that explains the process clearly, evaluates the whole home, and treats installation as more than a box swap. That is usually the difference between an AC system that simply runs and one that truly keeps your home comfortable when the heat does not let up.